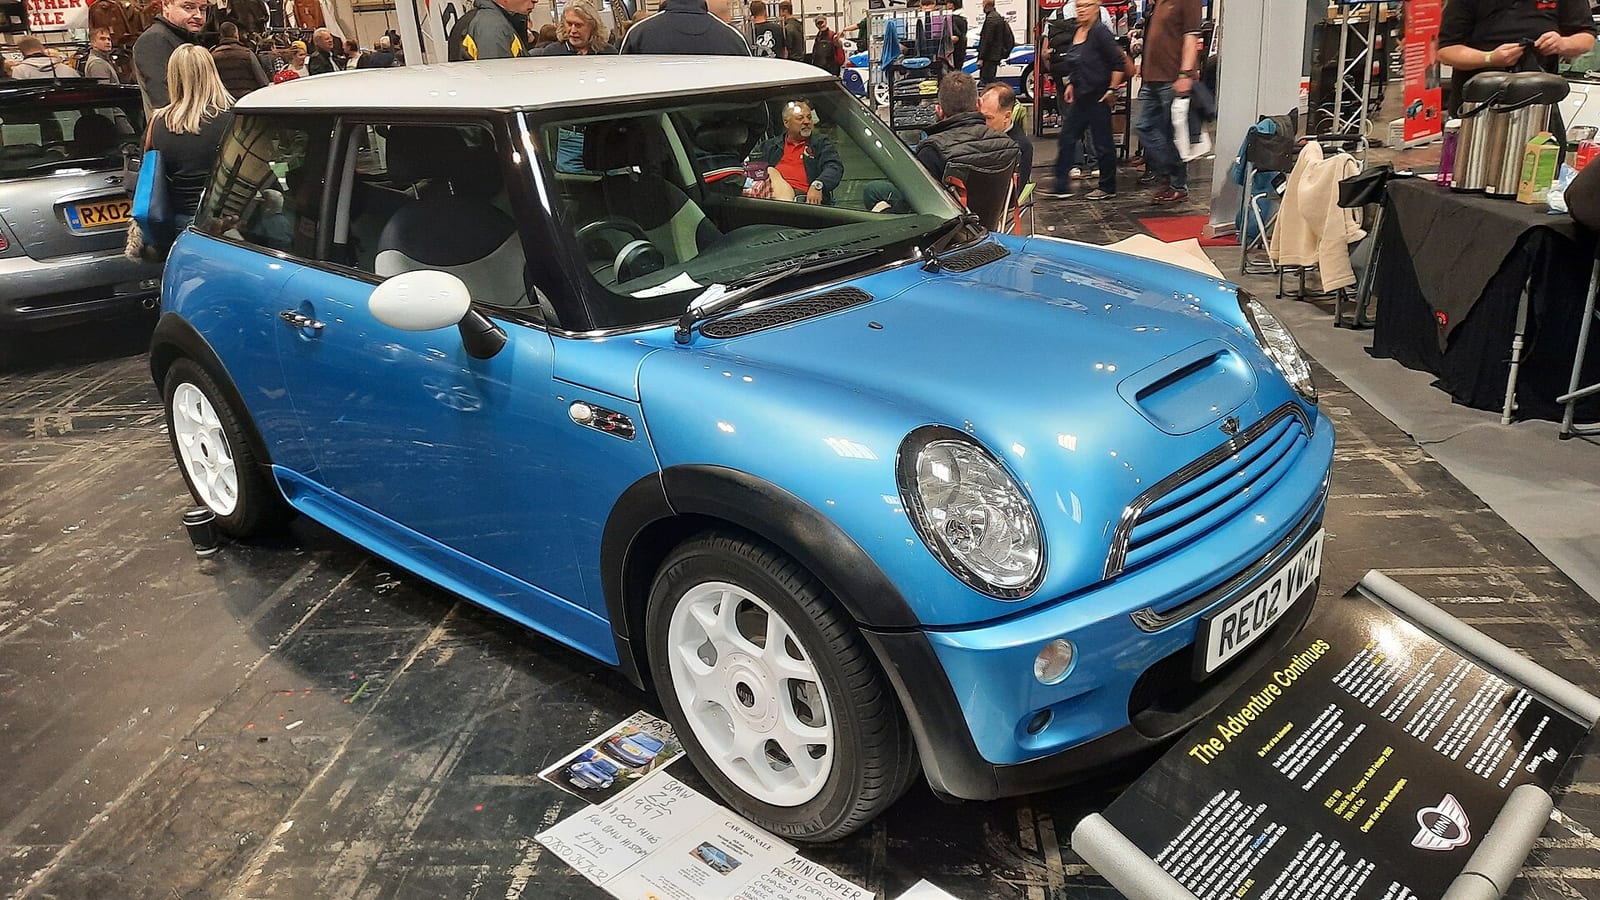
Application: First-generation MINI Cooper S R53 hatchback with the supercharged W11 engine. The detailed workshop sequence below is for the 2004 Cooper S R53 W11. Other model years, transmissions, pulley modifications and equipment require their own repair information before work begins. The first-generation belt how-to covers the 2001 to 2006 MINI family, but that broader coverage does not establish identical access instructions for every car. Sources: 2004 W11 workshop procedure and first-generation belt how-to.
MINI's 2004 owner's manual links the battery-charge warning to a defective alternator drive belt or charging fault. It also warns against continuing to drive with a defective belt because of possible overheating. Plan the repair while the car is parked. See the 2004 MINI manual, warning lamps section.
What this job covers
This guide follows the belt removal and refitting sequence in the 2004 W11 service text, with a separate note on the tensioner. The belt tensioner is under substantial spring load. The workshop instructions specifically require the locking pin to be properly seated. If the tensioner cannot be secured with the correct equipment, stop before trying to pull the belt free. Source: drive-belt safety and preparation instructions.
| Question | What the source says | Action |
|---|---|---|
| Battery-charge lamp appears | The owner's manual identifies a belt or charging-circuit fault. | Stop safely and inspect before further driving. MINI manual |
| Belt has coolant or oil on it | The workshop procedure calls for replacement of a contaminated belt. | Address the fluid source and replace the belt. Workshop text |
| Tensioner cannot be locked | The locking pin must be correctly seated. | Do not release the tool until the pin is secure. Workshop text |
| Supercharger pulley has been changed | A specialist belt guide discusses 15% and 17% reduction pulleys and says to match the belt to the car. | Identify the installed pulley and belt application before ordering. Belt how-to |
Tools and preparation
The 2004 workshop text identifies tensioner tool 11 8 410 and locking pin 11 8 470. Those are service tool numbers, not belt part numbers. The same source calls for access by removing the tank-venting valve, underpan, right front wheel and right wheel-arch liner. It also instructs the technician to protect nearby paintwork while inserting the tensioner tool. Source: 2004 W11 preliminary tasks.
The side matters. The service procedure specifies the right front wheel and liner. Some general DIY descriptions use driver-side language. Follow the side and access layout shown for the exact vehicle, rather than treating left and right as interchangeable. The wheel and liner work should be done only with the vehicle safely supported, using the correct vehicle-specific lifting and wheel-installation procedure. The MINI manual supplies vehicle-level safety guidance; the belt procedure itself does not replace that guidance.
Before releasing the tensioner, record the existing belt path. The independent first-generation belt replacement how-to specifically recommends noting how the belt runs around the pulleys. If the belt will be reused, the workshop text also says to mark its direction of rotation. Replace a belt contaminated by coolant, engine oil or hydraulic fluid instead of reusing it. Source: factory-style service text.
Removing the belt on the 2004 W11
- Make the access space. Follow the preliminary removal sequence for the tank-venting valve, underpan, right front wheel and liner. The factory-style procedure treats these as prerequisites, not optional shortcuts. Preparation source
- Prepare the tensioner tool. The service text says to pull the dipstick from its tube before positioning tool 11 8 410. Keep the tool clear of painted panels. Tensioner-tool placement
- Engage the tensioner. Attach the special tool to the tensioner, relieve belt tension and secure the mechanism with locking pin 11 8 470. The instructions note that a second person may be needed to position the pin in the second bore. Locking-pin instruction
- Remove the belt. Once the mechanism is secured, remove the belt. Inspect for fluid contamination. The workshop text explicitly calls for replacement when contamination is found. Removal and inspection
- Fit and check the belt. Reassemble the removed components and check the belt's installation position. The independent how-to describes holding the tensioner with the tool while removing the locking pin, then releasing tension slowly and checking pulley seating. Factory final check / Reassembly how-to
Important: These are the belt-specific steps from a 2004 W11 reference. They are not a complete vehicle lifting, wheel refitting or tensioner replacement procedure. Use the full repair instructions for the exact vehicle before undertaking the job.
How to choose the correct replacement belt
Do not buy by the model badge alone. The independent belt guide says to get the right size belt for your Cooper and discusses swapping to a 15% or 17% reduction pulley for more supercharger boost. Inspect the installed pulley before ordering. That guide does not give a universal belt length for every stock or modified R53. Source: belt selection guidance.
For a car with uncertain modification history, compare the actual installed pulley configuration and the existing belt markings against the appropriate manufacturer parts information. Do not substitute an unsubstantiated belt length or aftermarket part number from a generic listing. This article recommends no belt part number.
When the tensioner needs its own repair
Removing a belt and replacing a tensioner are separate jobs. The 2004 W11 tensioner service text requires removal of the alternator drive belt and vibration damper before the tensioner itself is removed. It gives mounting torque specifications by fastener size and mounting point. Those values should never be applied to a different bolt merely because it appears to fit. Source: 2004 W11 tensioner service procedure.
| 2004 W11 tensioner attachment | Torque | Caveat |
|---|---|---|
| Tensioner to crankcase, M6 | 9 Nm / 79.7 in-lb | Only the specified M6 location |
| Tensioner to crankcase, M10 | 45 Nm / 33.2 ft-lb | Only the specified M10 location |
| Tensioner to compressor, M10 | 45 Nm / 33.2 ft-lb | Confirm exact mounting point |
These torque values come from the 2004 Cooper S W11 tensioner procedure. They are included as a reference for readers planning a separate tensioner job, not as instructions to remove the vibration damper or reuse its hardware. Confirm any production-date, transmission, replacement-fastener and torque-angle requirements in the full procedure for the actual car. For other common fasteners, see the R53 torque reference.
After refitting: what to check
The workshop procedure ends by checking the belt's installation position. The independent how-to describes confirming that the belt sits properly on each pulley after tension is restored. Sources: Workshop final step and Reassembly guidance.
If the battery-charge warning appears after the work, do not assume the new belt solved the fault. The manual names both a defective alternator belt and a charging-circuit problem as possibilities. It says not to continue driving if the belt is defective. Source: MINI warning-lamp instructions.
Frequently asked questions
Do I need a special tool to change an R53 belt?
The 2004 W11 workshop procedure specifies tool 11 8 410 and locking pin 11 8 470. The tensioner is under heavy spring load, so a secure pin matters. Factory-style procedure
Which wheel-arch liner comes off?
The 2004 W11 procedure specifies the right front wheel and right wheel-arch liner. Check the applicable manual before extending that instruction to another year or drivetrain. Access instructions
Can I reuse a belt that has oil on it?
The service text says to replace a belt fouled with coolant, engine oil or hydraulic fluid. It also says to mark direction of rotation if a belt is to be reused. Belt reuse conditions
Is the same belt correct with a smaller supercharger pulley?
Do not assume so. The belt how-to discusses 15% and 17% reduction pulleys and says to match the belt to your car. Match the replacement to the installed hardware. Belt guide
Does a battery warning prove the belt has failed?
No. The MINI manual identifies either a defective alternator drive belt or a charging-circuit fault. It instructs the driver not to continue if the belt is defective. Owner manual
Sources and editorial scope
- 2004 W11 belt service procedure, preparation and precautions
- 2004 W11 belt service procedure, tensioner release and final check
- 2004 W11 tensioner removal and mounting torques
- MINI USA 2004 hardtop manual
- First-generation MINI belt replacement how-to
Technical disclaimer: This independent DIY reference is informational. Work on a belt tensioner involves stored spring energy; wheel removal and engine-bay work introduce additional hazards. Check the complete manufacturer procedure, lifting instructions, parts catalog and safety requirements for your exact vehicle. If you cannot safely secure the tensioner or identify the correct hardware, use a qualified technician.